Understanding VPN on iPhone
A Virtual Private Network (VPN) on iPhone is a security tool that allows you to connect to the internet through a remote server. When using a VPN, all your internet traffic is encrypted and routed through the server, which can be located in another country or region. This makes it difficult for anyone to track your online activities, including your Internet Service Provider (ISP) and hackers.
VPNs are commonly used for privacy and security purposes. They can help protect your sensitive information from cyberattacks and prevent websites and apps from collecting your personal data. Additionally, VPNs can bypass internet censorship and geo-restrictions, enabling you to access websites and services that may not be available in your location.
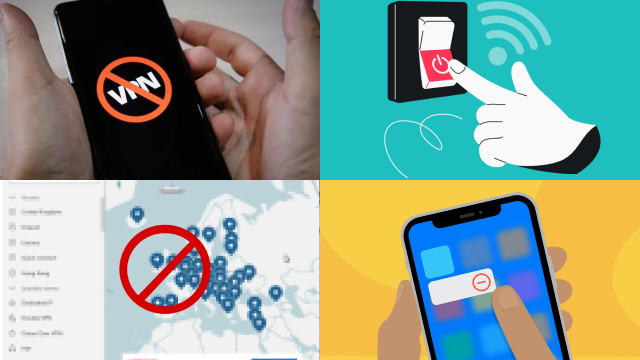
While VPNs are beneficial in many ways, they can also affect your internet speed and consume more battery life. It is important to understand how to disable VPN on iPhone if you want to disable the service temporarily or permanently. In the next sections, we will explore the reasons to disable VPN and the steps to turn it off on your iPhone.
Reasons to Disable VPN on iPhone
There are several reasons why you may want to disable VPN on your iPhone. One of the most common reasons is to improve your internet speed. Because VPNs encrypt your internet traffic and route it through a remote server, it can sometimes slow down your connection. If you need faster internet for streaming, gaming, or downloading large files, turning off VPN may be a good option.
Another reason to disable VPN on iPhone is to troubleshoot internet connectivity issues. If you’re experiencing problems with your internet connection, VPN can sometimes be the culprit. Turning off VPN can help you determine whether the VPN service is causing the problem or not.
You may also want to disable VPN on iPhone if you’re having issues accessing certain websites or services. While VPNs can help bypass internet censorship and geo-restrictions, some websites and services may block VPN connections. In this case, disabling VPN can help you access the content you need.
Finally, if you’re concerned about your battery life, disabling VPN on iPhone can help conserve your device’s battery. Because VPNs encrypt and route your internet traffic, they can consume more battery power than usual.
How to Turn Off VPN on iPhone: Step-by-Step Guide
If you’re using a VPN on your iPhone and want to turn it off, the process is straightforward. Here’s a step-by-step guide on how to turn off VPN on iPhone:
- Go to your iPhone’s home screen and tap on the “Settings” app.
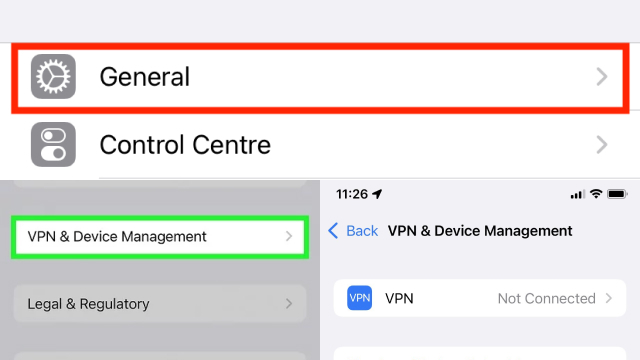
- Scroll down and tap on “General”.
- Tap on “VPN”.
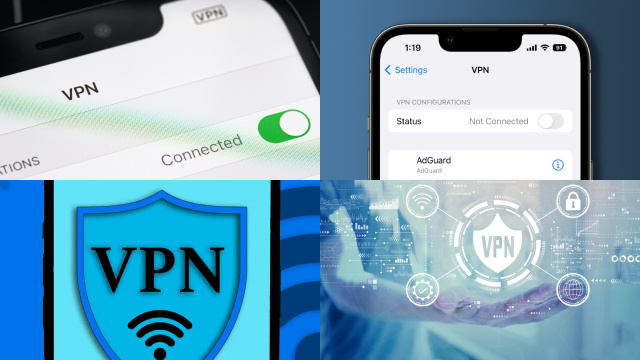
- Find the VPN profile you want to turn off and toggle the switch next to it to the “Off” position.
- If you have multiple VPN profiles, repeat the process for each one you want to turn off.
- Once you’ve turned off all the VPN profiles you want to disable, exit the Settings app.
After you’ve turned off VPN on your iPhone, your internet traffic will no longer be encrypted and routed through a remote server. This means your internet speed may improve, but your online activities will no longer be as private or secure. If you want to enable VPN again in the future, you can follow the same steps and toggle the switch next to the VPN profile to the “On” position.
Alternative Ways to Disconnect from VPN on iPhone
In addition to turning off VPN directly through the Settings app on your iPhone, there are a few alternative ways to disconnect from VPN. Here are some methods you can try:
- Use the VPN app: If you’re using a VPN app on your iPhone, you can usually disconnect from VPN within the app itself. Simply open the app, locate the disconnect or turn off option, and tap it to disable VPN.
- Restart your iPhone: Sometimes, VPN connections can be stubborn and won’t disconnect easily. If you’re having trouble turning off VPN through the Settings app, try restarting your iPhone. Once your device is back on, VPN should be disabled.
- Disable VPN through Siri: If you’ve enabled Siri on your iPhone, you can use voice commands to disable VPN. Simply say “Hey Siri, turn off VPN” and Siri will disable VPN for you.
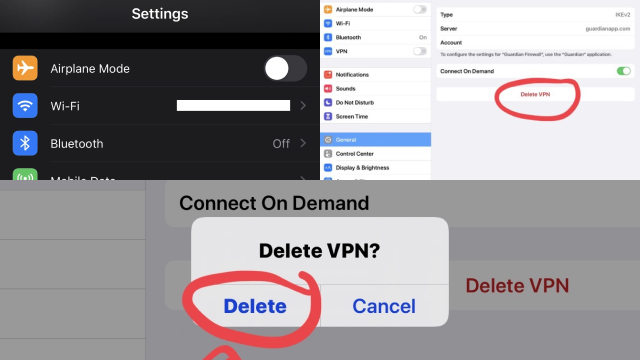
- Remove the VPN profile: If you want to permanently disable VPN on your iPhone, you can remove the VPN profile entirely. To do this, go to the Settings app, tap on “General”, then “Profile”. Find the VPN profile you want to remove and tap “Remove Profile”. This will delete the VPN profile from your iPhone and disable the VPN connection.
Troubleshooting: Problems Turning Off VPN on iPhone
While turning off VPN on iPhone is usually a straightforward process, there may be times when you encounter problems. Here are some troubleshooting tips to help you if you’re having issues turning off VPN:
- Check for restrictions: If you’re unable to turn off VPN on your iPhone, it could be because of restrictions set by your network administrator or device management profile. Check if any restrictions are in place and disable them if possible.
- Restart your iPhone: If you’re having trouble turning off VPN through the Settings app, try restarting your iPhone. This may help clear any temporary glitches that could be preventing VPN from turning off.
- Force close the Settings app: Sometimes, the Settings app can become unresponsive, which can prevent you from turning off VPN. To fix this, force close the Settings app by swiping it up from the App Switcher and try again.
- Remove the VPN profile: If all else fails, you can try removing the VPN profile entirely from your iPhone. This will not only disable VPN but also delete the profile from your device. To do this, go to the Settings app, tap on “General”, then “Profile”. Find the VPN profile you want to remove and tap “Remove Profile”.
If you’re still unable to turn off VPN on your iPhone after trying these troubleshooting tips, you may need to contact the VPN provider for assistance or seek help from an IT professional.
How to Reconnect to VPN on iPhone If Needed
If you’ve disabled VPN on your iPhone but need to reconnect to it, you can do so easily. Here’s a step-by-step guide on how to reconnect to VPN on iPhone:
- Go to your iPhone’s home screen and tap on the “Settings” app.
- Scroll down and tap on “General”.
- Tap on “VPN”.
- Find the VPN profile you want to use and toggle the switch next to it to the “On” position.
- If you have multiple VPN profiles, select the one you want to use.
- Once you’ve turned on the VPN profile you want to use, exit the Settings app.
Your iPhone should now be connected to VPN and your internet traffic will be encrypted and routed through a remote server. You can verify that VPN is active by looking for the VPN icon in the status bar at the top of your iPhone’s screen.
In summary, reconnecting to VPN on iPhone is a simple process. Just follow the above steps and you’ll be able to re-establish a secure and private connection in no time.
Tips for Managing VPN Settings on iPhone
Managing VPN settings on iPhone can be important for maximizing the security and performance of your VPN connection. Here are some tips for managing VPN settings on iPhone:
- Use the latest version of iOS: Make sure your iPhone is running the latest version of iOS to ensure that you have the most up-to-date VPN settings and security features.
- Enable automatic connection: Most VPN apps allow you to set up automatic connection to VPN whenever you connect to a Wi-Fi network. Enabling this feature can save you time and hassle, and ensure that your online activities are always encrypted.
- Customize your VPN settings: Depending on the VPN provider you use, you may have the ability to customize your VPN settings. This can include selecting the protocol used for encryption, enabling split tunneling, or setting up kill switch features to automatically disconnect from the internet if the VPN connection is lost.
- Monitor your data usage: Some VPN providers may limit the amount of data you can use each month or have a data cap. Monitor your data usage to ensure that you don’t exceed your limit or incur additional charges.
By following these tips, you can effectively manage your VPN settings on iPhone and enjoy a secure and reliable VPN connection.


