It occurs quite often when our Phone or iPad runs out of free space. Unfortunately, this situation is also common on a Mac computer — especially if you have a 128 GB SSD.
Many would immediately try to find a third-party application to help them, but they are often expensive, and sometimes the developers are tricking people by forcing them to buy a new version of the application every time after a major OS update.
Today we will discuss ways to clean Mac using standard operating system tools that are available on every modern macOS version, even High Sierra.
How to free up space on Mac
To access the cleaning menu, follow these steps:
- Go to the Apple menu, then About This Mac
- Go to the “Storage” tab and click “Manage”
You will find yourself in the storage management section. But if earlier its functionality was severely limited, then with macOS High Sierra it became possible to delete individual sections – from backups and iTunes files to large documents and mail.
And all this in one place – yes, just like in one well-known third-party application. And before that, the system itself will offer you the necessary recommendations for keeping the drive clean: for example, enable automatic cleaning of the trash can or optimize storage.
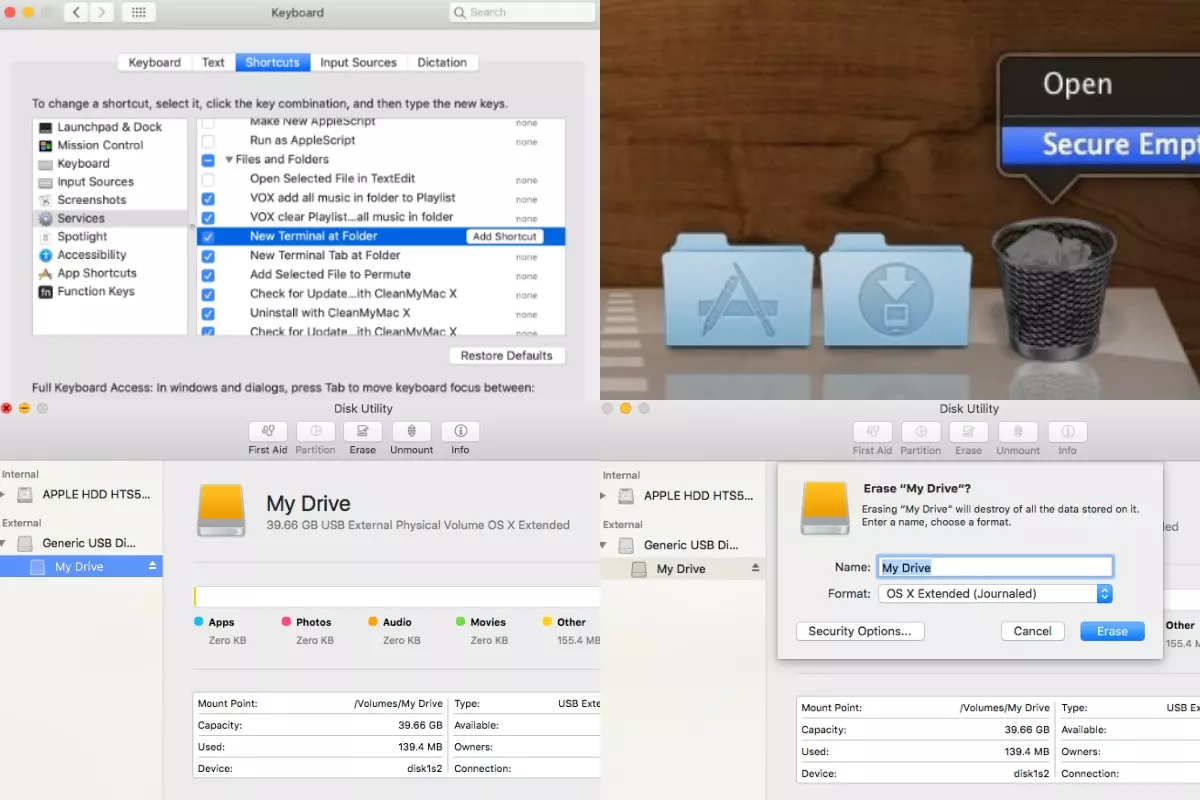
Image 1. Cleaning menu will help to empty the trash
The Junk Cleanup menu lets you quickly see the largest files, clean your downloads folder, and so on. I remember that my friend did not even know that a wedding archive with photos and videos was saved on his computer, which, by the way, occupied almost 100 GB.
Considering that these files have long been transferred to external drives and the cloud, he doesn’t need them on his computer.
Downloads folder
Another good idea would be to clean up your Downloads folder. Yes, no need to be surprised, have you looked into it for a long time? I have last year’s files and folders of several gigabytes each. Over time, as a rule, you forget about them, and they remain a burden for your hard drive or SSD.
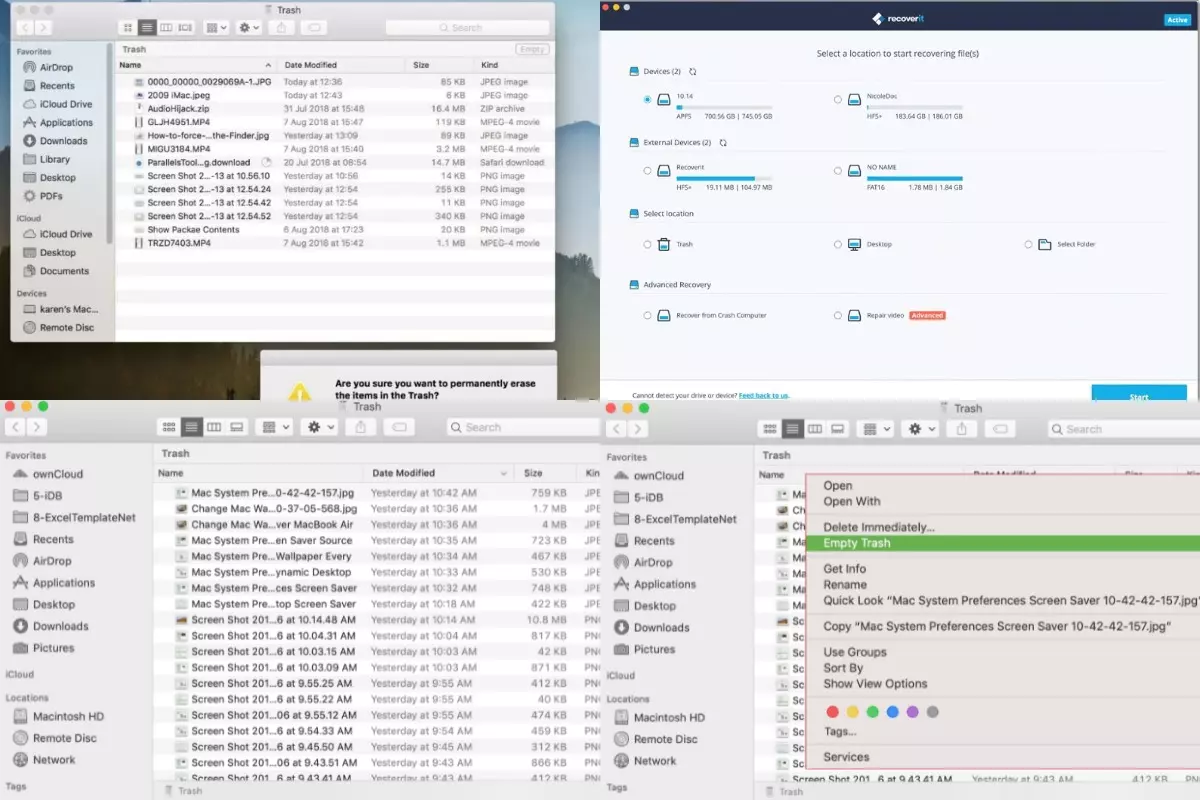
Image 2. Cleaning up the Downloading folder is a good idea
What everyone forgets about is the old device backups in iTunes. Okay, if there are copies of 3-4 gigabytes, but what if there are 30-40 GB of information? Previously, you had to open iTunes, select “Settings” – then “Devices” tab, and delete backups there. But now there is such an option in the storage management menu.
The new application for managing the drive is almost in no way inferior to third-party counterparts, while it implements cleaning at the system level without the need to give any applications access to the disk.
Cleaning Mac on Older OS Versions
In this case, you can use the forced cleaning of the “Other” section. Here are just examples of data that can be classified by the system in this way:
- Documents and various file types including PDF, doc, PSD
- Archives and disk images, including .zip, .dmg, .iso
- Different types of personal user data
- Temporary files, audio recordings, and more
- Custom Libraries (Application Support, iCloud Files, etc.)
- System cache (including Safari)
- Files that Spotlight cannot recognize – for example, the hard disk of a virtual machine
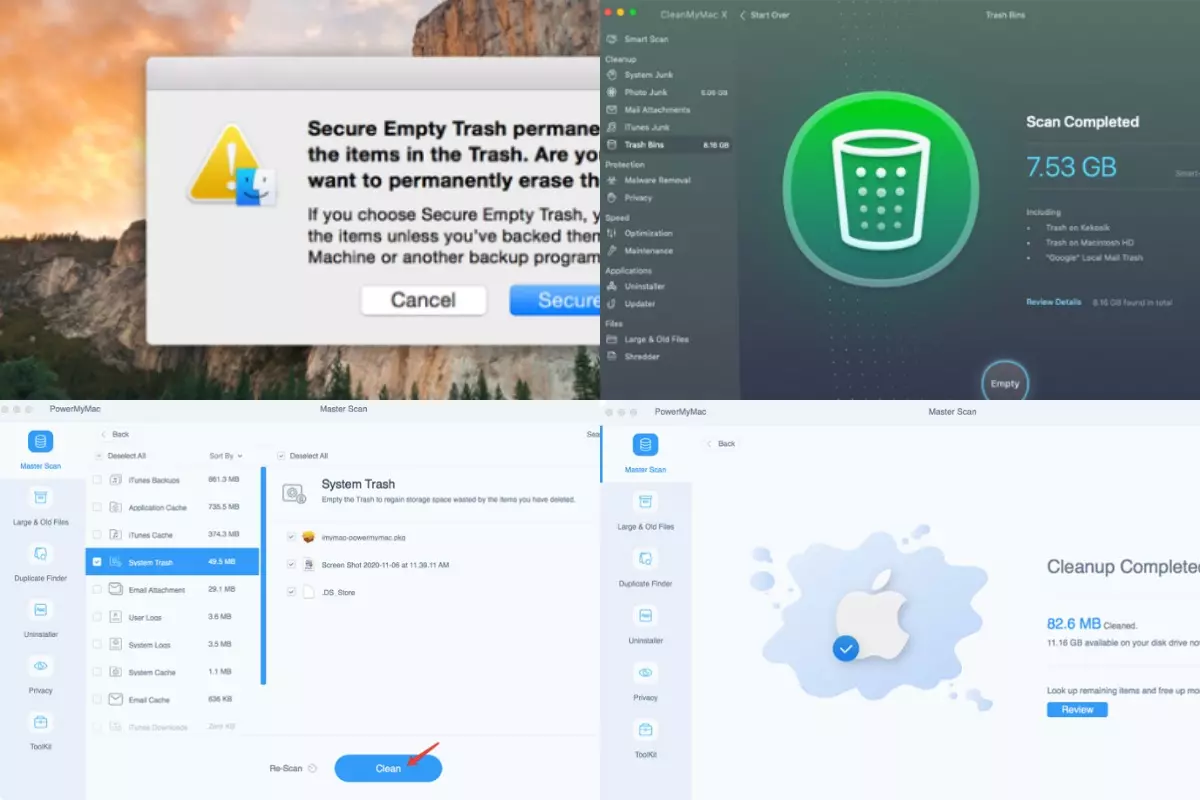
Image 3. Each version of Mac OS has opportunities to secure empty trash
We seem to have figured out what we are dealing with. How to get rid of it? Open Finder, hold down cmd + shift + G and then visit the folders indicated below. Remove anything from them that you think doesn’t belong on your Mac.
- ~ / Downloads
- ~ / Library / Caches
- ~ / Documents
Ensuring Data Privacy on macOS: Securely Emptying Trash
Data privacy is a paramount concern for macOS users. However, many are unaware that simply deleting files and folders through the Trash does not guarantee complete security. Even after emptying the Trash, data can be potentially recovered using specialized software.
To ensure robust data protection and confidentiality, it’s essential to follow a few key practices:
- Secure Empty Trash: Instead of the standard “Empty Trash” option, use “Secure Empty Trash” from the Finder menu. This overwrites the deleted files with random data, making them nearly impossible to recover.
- FileVault: Enable FileVault, macOS’s built-in disk encryption feature. It ensures that even if someone gains physical access to your computer, they won’t be able to access your data without your password.
- Use a Secure Erase Tool: Consider using third-party secure erase tools like “Shredder” or “Disk Drill” for additional protection. These utilities can help you permanently delete files beyond recovery.
- Regular Backups: Maintain up-to-date backups using Time Machine or a reliable backup service. This ensures that even if you accidentally delete something important, you can recover it from a backup without compromising data privacy.
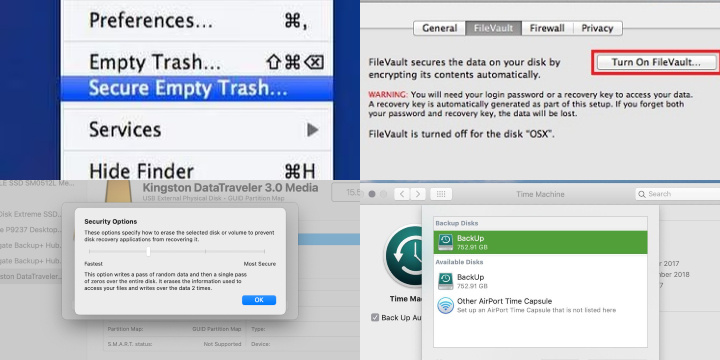
By implementing these practices, you can significantly enhance the security of your data on macOS and minimize the risk of unauthorized access or data breaches.
In general, nowadays it makes little sense to resort to the help of applications from other developers for cleaning Macs – you can uninstall everything you need yourself, even if you would need to spend not 30 seconds, but a couple of minutes, this will save you a couple of dozens of dollars.