The Importance of Checking Your RAM: Why You Need to Know How Much You Have
Checking your RAM (Random Access Memory) is an essential step in maintaining your computer’s performance. Here’s why you need to know how much RAM you have:
- Running applications: RAM plays a crucial role in running applications on your computer. If you have insufficient RAM, you may experience slow performance, freezes, or crashes.
- Upgrading: Knowing how much RAM you have is essential when upgrading your computer’s memory. Upgrading your RAM can significantly improve your computer’s performance.
- Compatibility: Before upgrading your RAM, it’s essential to know your computer’s RAM specifications to ensure compatibility with your computer.
- Multitasking: If you frequently multitask, having sufficient RAM is essential. More RAM allows you to run multiple applications simultaneously without slowing down your computer.
In conclusion, checking your RAM is crucial for maintaining your computer’s performance, upgrading, and compatibility. It’s worth checking your RAM periodically to ensure it’s sufficient for your needs.
Checking RAM on Windows PC: Methods and Tools to Find Out Your RAM Size
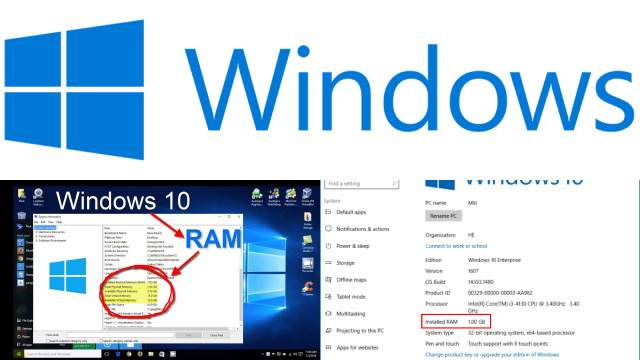
Checking your RAM (Random Access Memory) on a Windows PC is an easy process. Here are two methods to find out your RAM size:
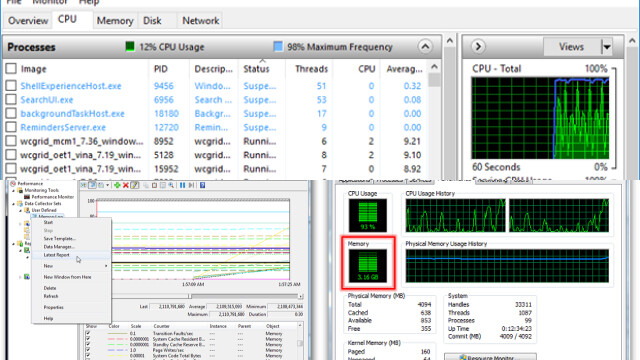
- Task Manager: Press Ctrl+Shift+Esc to open the Task Manager. Click on the “Performance” tab and select “Memory” to see your RAM size.
- System Information: Press the Windows key+R to open the Run dialog box. Type “msinfo32” and press Enter. Under “System Summary,” you’ll see your installed memory.
There are also third-party tools, such as CPU-Z and Speccy, that provide more detailed information about your computer’s hardware, including your RAM size.
Knowing your RAM size is essential for maintaining your computer’s performance, upgrading, and compatibility. It’s worth checking your RAM periodically to ensure it’s sufficient for your needs.
Checking RAM on Mac: How to Find Out Your RAM Capacity and Usage
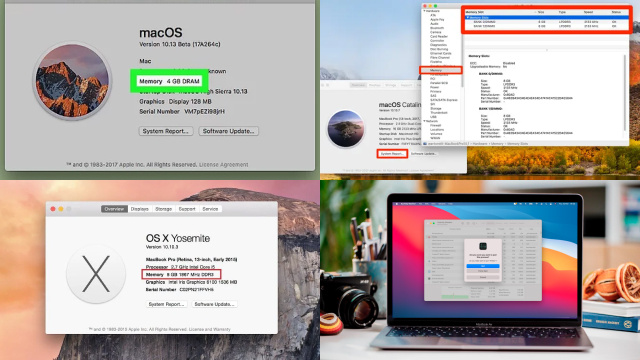
Checking your RAM (Random Access Memory) on a Mac is a simple process. Here’s how to find out your RAM capacity and usage:
- Click on the Apple menu in the top-left corner of the screen and select “About This Mac.”
- In the window that appears, select the “Memory” tab. Here you’ll see your installed RAM size, type, and speed.
- To see your current RAM usage, open the “Activity Monitor” application, which can be found in the “Utilities” folder. Click on the “Memory” tab to see your current RAM usage and the amount of RAM being used by each application.
It’s essential to know your RAM capacity and usage for maintaining your computer’s performance, upgrading, and compatibility. It’s worth checking your RAM periodically to ensure it’s sufficient for your needs. If you find that you have insufficient RAM, consider upgrading your memory to improve your computer’s performance.
Checking RAM on Windows Task Manager: Step-by-Step Guide
Checking your RAM (Random Access Memory) on Windows Task Manager is an easy process. Here’s a step-by-step guide:
- Right-click on the taskbar and select “Task Manager.”
- In the Task Manager window, select the “Performance” tab.
- Click on “Memory” to see your current RAM usage and capacity.
- To see how much RAM each application is using, click on the “Details” tab.
- Click on the “Memory” column to sort the applications by their RAM usage.
It’s important to periodically check your RAM usage to ensure that you have enough memory to run your applications smoothly. If you notice that your RAM usage is consistently high, consider closing some applications or upgrading your RAM to improve your computer’s performance.
Checking RAM on Resource Monitor: Step-by-Step Guide
Checking your RAM (Random Access Memory) on Resource Monitor is a simple process. Here’s a step-by-step guide:
- Press the Windows key+R to open the Run dialog box.
- Type “resmon” and press Enter.
- In the Resource Monitor window, select the “Memory” tab.
- Here you’ll see your current RAM usage and capacity, as well as a graph showing your memory usage over time.
- To see how much RAM each application is using, click on the “Processes” tab.
- Click on the “Working Set” column to sort the applications by their RAM usage.
It’s important to periodically check your RAM usage to ensure that you have enough memory to run your applications smoothly. If you notice that your RAM usage is consistently high, consider closing some applications or upgrading your RAM to improve your computer’s performance.
Checking RAM on Mac Activity Monitor: Step-by-Step Guide
Checking your RAM (Random Access Memory) on Mac Activity Monitor is a simple process. Here’s a step-by-step guide:
- Open the “Applications” folder and go to “Utilities.”
- Click on “Activity Monitor” to open the application.
- In the Activity Monitor window, click on the “Memory” tab.
- Here you’ll see your current RAM usage and capacity, as well as a graph showing your memory usage over time.
- To see how much RAM each application is using, click on the “Memory” column to sort the applications by their RAM usage.
It’s important to periodically check your RAM usage to ensure that you have enough memory to run your applications smoothly. If you notice that your RAM usage is consistently high, consider closing some applications or upgrading your RAM to improve your computer’s performance.
Understanding RAM Terminology: What Does “Available”, “Used”, and “Cached” Mean?
RAM (Random Access Memory) is a type of computer memory that allows the computer to access data quickly. When checking your RAM usage, you may come across terms such as “available”, “used”, and “cached.” Here’s what they mean:
- Available: This refers to the amount of RAM that is currently unused and available for the computer to use.
- Used: This refers to the amount of RAM that is currently being used by running applications and processes.
- Cached: This refers to the amount of RAM that is currently being used to store data that has been recently accessed by the computer. This data is stored in the RAM to make it faster to access if needed again.
Understanding these terms can help you monitor your RAM usage and ensure that you have enough memory to run your applications smoothly. If you notice that your available RAM is consistently low, consider closing some applications or upgrading your RAM to improve your computer’s performance.
Upgrading Your RAM: How to Add More Memory to Your Windows PC or Mac
Upgrading your RAM can significantly enhance the performance of your Windows PC or Mac, providing a smoother and more responsive computing experience. Here’s how you can add more memory to your system:
- Identify Compatibility: Before purchasing new RAM, it’s crucial to determine the type of RAM that’s compatible with your PC or Mac. Check your system’s manual or use online tools to find the specific RAM type and capacity your system supports.
- Purchase the Right RAM: Once you know the compatibility, purchase the RAM modules that suit your needs. You can buy them from various retailers or online stores. Make sure the new RAM matches your existing RAM in terms of type, speed, and capacity.
- Safety First: Turn off your computer, unplug it from the power source, and open the case carefully. Handle the RAM modules with care to avoid static electricity and physical damage.
- Locate and Install RAM Slots: Find the RAM slots on your motherboard and insert the new RAM modules carefully, following the instructions in your system’s manual. Typically, you need to open the retention clips on each side of the slot, align the notches on the RAM module with those on the slot, and press it in until it clicks into place.
- Power Up and Check: Reassemble your computer, plug it in, and power it on. Your system should automatically recognize the new RAM. To verify the installation, you can check the system properties on Windows or the “About This Mac” section on a Mac.
Upgrading your RAM is a cost-effective way to boost your computer’s performance and extend its lifespan, providing the power to handle more demanding tasks and applications with ease.
How Much RAM Do You Need? Factors to Consider and Recommendations Based on Your Needs
Determining how much RAM (Random Access Memory) you need depends on several factors, such as the type of work you do on your computer and the applications you use. Here are some factors to consider:
- Type of work: If you use your computer for basic tasks such as web browsing and email, 4GB of RAM may be sufficient. However, if you do more demanding tasks such as video editing or gaming, you may need 8GB or more.
- Applications: Some applications require more RAM than others. For example, if you use Adobe Photoshop or other graphics-heavy software, you may need more RAM to run these applications smoothly.
- Operating system: The amount of RAM you need also depends on the operating system you use. Windows 10 and macOS both require at least 4GB of RAM, but more is recommended for optimal performance.
As a general rule, 8GB of RAM is sufficient for most users, while 16GB or more is recommended for power users or professionals who use demanding applications. It’s important to consider your needs and budget when deciding how much RAM to get.

