How to Change Your Google Play Region without Using a Credit Card
How To: Change Your Google Play Region
The Google Play Store can be very unforgiving if you need to change some of the options you chose to set up your account. Google will sense the location of your IP address and, depending on that country, automatically assign your account to one of their servers in the country in which you are located.
That can put you at a disadvantage in having access to all the apps Google has to offer in the Play Store. If you are using an Android OS smartphone, the challenges are even more significant. In this article, we will explain a method (hack) that solves one of the more significant issues when using an Android smartphone.

We will show you how to access the Play Store through a server located in a different country than the server in your home IP’s region. The potential advantage you gain is access to more of the apps Google Play offers.
How to Play the Google Play Store Using VPN
First, let’s dispel some myths. The credit card you use on the account has nothing to do with Google is figuring out where you are located. It’s the IP address of the machine you are using to connect to the Internet. You need to mask that IP address through the use of a VPN app.
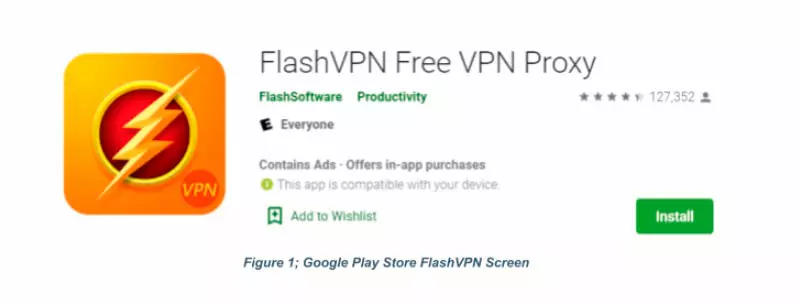
Planet VPN is an excellent choice, and it is available on Google Play (see figure 1). Download and install the app as the first step to achieving Google Play Store independence. Now, shut down Google Play and dump the storage cache on your Android smartphone. How to Play the Google Play Store Using VPN and it is available on Google Play (see figure 1).
- Go to Settings
- Click on apps and notifications
- Find the Planet VPN app and click on the icon
- Click on the storage option
- Click on the “Clear Storage” button
- This will erase both the storage and cache data – Click OK
These steps were validated on a Motorola Z3 smartphone running Android 6.0. The names of some of the steps may differ on other manufacturer phones but should be similar enough for you to choose the correct options.
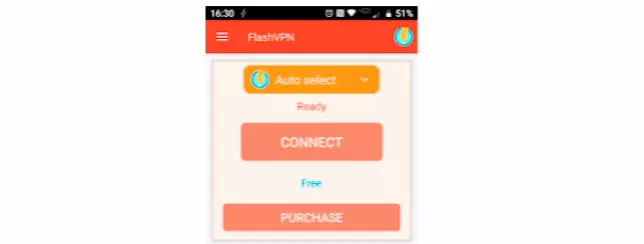
Boot up the Planet VPN app on your Android smartphone and begin your journey. You must boot up Planet VPN before you open your Google Play Store app. The first screen you come to is figure 2, the first configuration menu. You want to drop down the menu on the Auto Select tab by clicking on the down arrow.
Once you are done with that task, you will see figure 3. The US button was chosen, as indicated by the blue dot. Once you do select the US button; figure 4 will appear (follow the blue arrow), indicating the location that will be chosen for your account as we proceed forward.
At this point, your real IP is masked, and the IP presented to the Play Store will get your account assigned to a US Server. Now click on the “CONNECT” button in figure 4. You have just requested the Planet VPN to make the connection to the Play Store via a US server.
A key icon will appear in the Top status bar of your Android phone, and the phone will show as being connected, and the “CONNECT” button will now read “DISCONNECT”. The VPN is now active.
Testing Your New Play Store Location
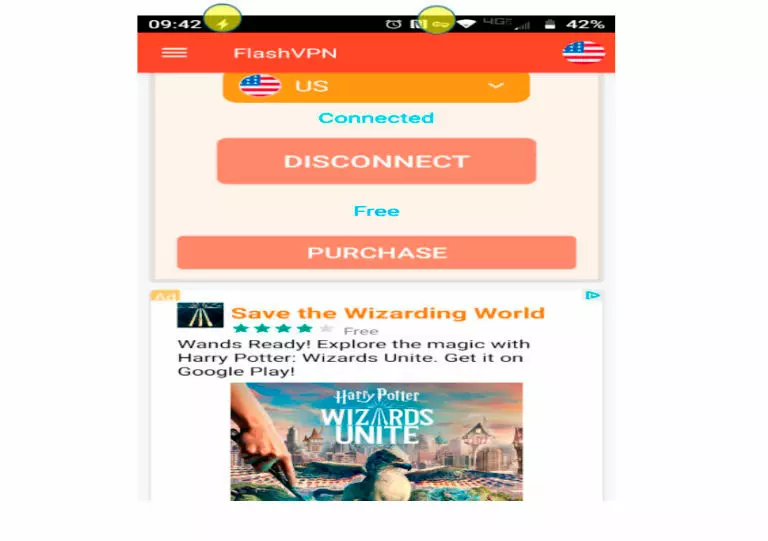
Now, open Google Play Store from your Android smartphone. Make sure the Planet VPN key icon is still visible on the top menu. Make sure the Planet VPN key icon is still showing on your Android phone top menu. If it is not showing, restart Planet VPN before you open the Google Play Store.
Verify the settings are correct as you reset them. The “US” location should be showing as your country of choice. If not, use the drop-down menu to select “US” again and hit “CONNECT”. The lightning bolt icon will show up on the left on the top menu and the key icon will be on the right (see figure 5).
We are going to go through the motions of buying a paid app, but not buy it.
Now, boot up the Google Play Store. Pick a paid app and verify that you can buy it (see figure 6).
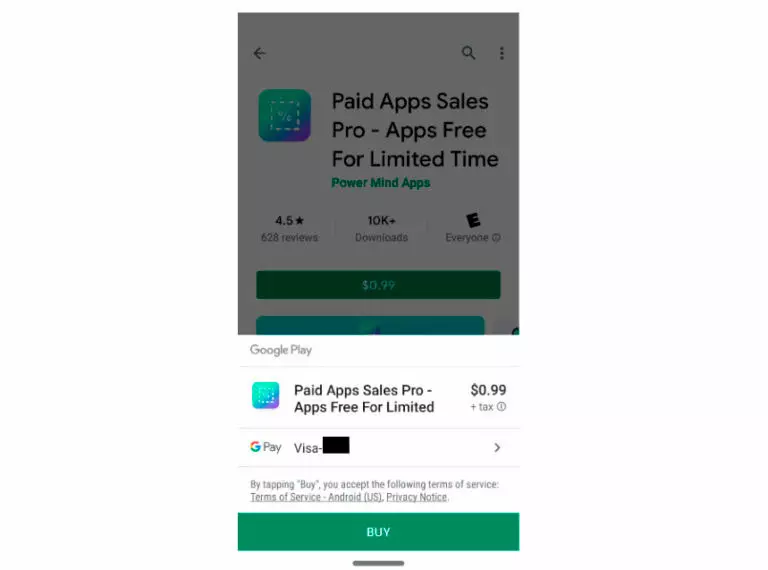
Figure 6: Verification of Ability to Buy
You are done, and your Google Play Store settings are valid for the country/location you have chosen. DO NOT hit the “BUY” button unless you want the app.

Changing Play Store Settings
Now that your phone is in Planet VPN active mode, let’s try change the country/location from the “US” setting to another location. We will repeat the method used to choose the current country setting to the “US”. And select a different country.

- Go back to the Planet VPN app by clicking on the icon in the program listing on your Android smartphone. You will see the configuration screen (figure 2).
- Click on the “DISCONNECT” button to sever the link to the “US” server.
- Go to SETTINGS
- Click on Apps and Notifications
- Clear the storage and cache
- Click on the Planet VPN icon in the program listing. It should still be active.
- Choose the new location you want. We will go to the “UK” server option (figure 3).
- Click on the “CONNECT” button. You will get a connected indication
- Verify that Planet VPN is fully active by looking at your top menu on your Android phone.
- Both the lightning bolt and the key icon should be showing (figure 5).
Now, go back to the Google Play Store and repeat the process to prepare to buy a paid app.
- Go to SETTINGS
- Choose the Applications and Notifications option
- Clear the Storage and Cache
- Restart the Google Play Store
- Locate a suitable app by typing “paid apps” in the search window
- Click on the apps of your choice
- Click on the price of the app
- Check to see that you can buy it (Green buy bar at the bottom of the screen), but DO NOT click on it. Just verify that it’s there and that you have a way to pay for it (figure 6).
You are good to go. It will work for any change of location you want to try. If you pick a location where your payment method of choice is not valid, the Play Store will prompt you to use an alternative way to pay for the app.
Alternative Methods: Changing Your Google Play Region without Using a Credit Card
Changing your Google Play region without a credit card can be necessary to access apps, games, and content that are restricted in your current location. While Google Play typically requires a valid payment method from the region you want to switch to, there are alternative methods to achieve this without a credit card:
- Google Play Gift Cards: Purchase a Google Play gift card from the region you want to switch to. Redeem the gift card on your Google Play account, and your region will automatically change to match the gift card’s location.
- Google Opinion Rewards: Earn Google Play credits by participating in surveys through the Google Opinion Rewards app. These credits can be used to make purchases on the Play Store, effectively changing your region without a credit card.
- Billing Address Modification: Update your Google account’s billing address to one from the desired region. This may involve using a friend or family member’s address, but it’s important to ensure they are aware and agree to it.
- Use a Virtual Private Network (VPN): While a VPN won’t directly change your Google Play region, it can help you access the Play Store of another region. Connect to a VPN server in the desired region and access the Play Store as if you were physically located there. However, some apps may still require a valid payment method from the region.

It’s important to note that these methods may have limitations and potential risks, so users should proceed with caution and respect Google’s policies and terms of service. Additionally, some apps and content may still be tied to the original region, even after switching.